What each one is for
- Departments group your people, like Kitchen or Front Desk. Filters, reports and some settings use them.
- Jobs are what people do on a shift, like Server or Cashier. Each employee has a main job, and shifts are for a job.
- Locations are the places people work. The address is used for the weather on the schedule and for location checks when people clock in.
Set them up before you add employees, so you can pick them from the lists.
Open the settings
-
In the menu, select Settings > Company, then Departments, Jobs or Locations.
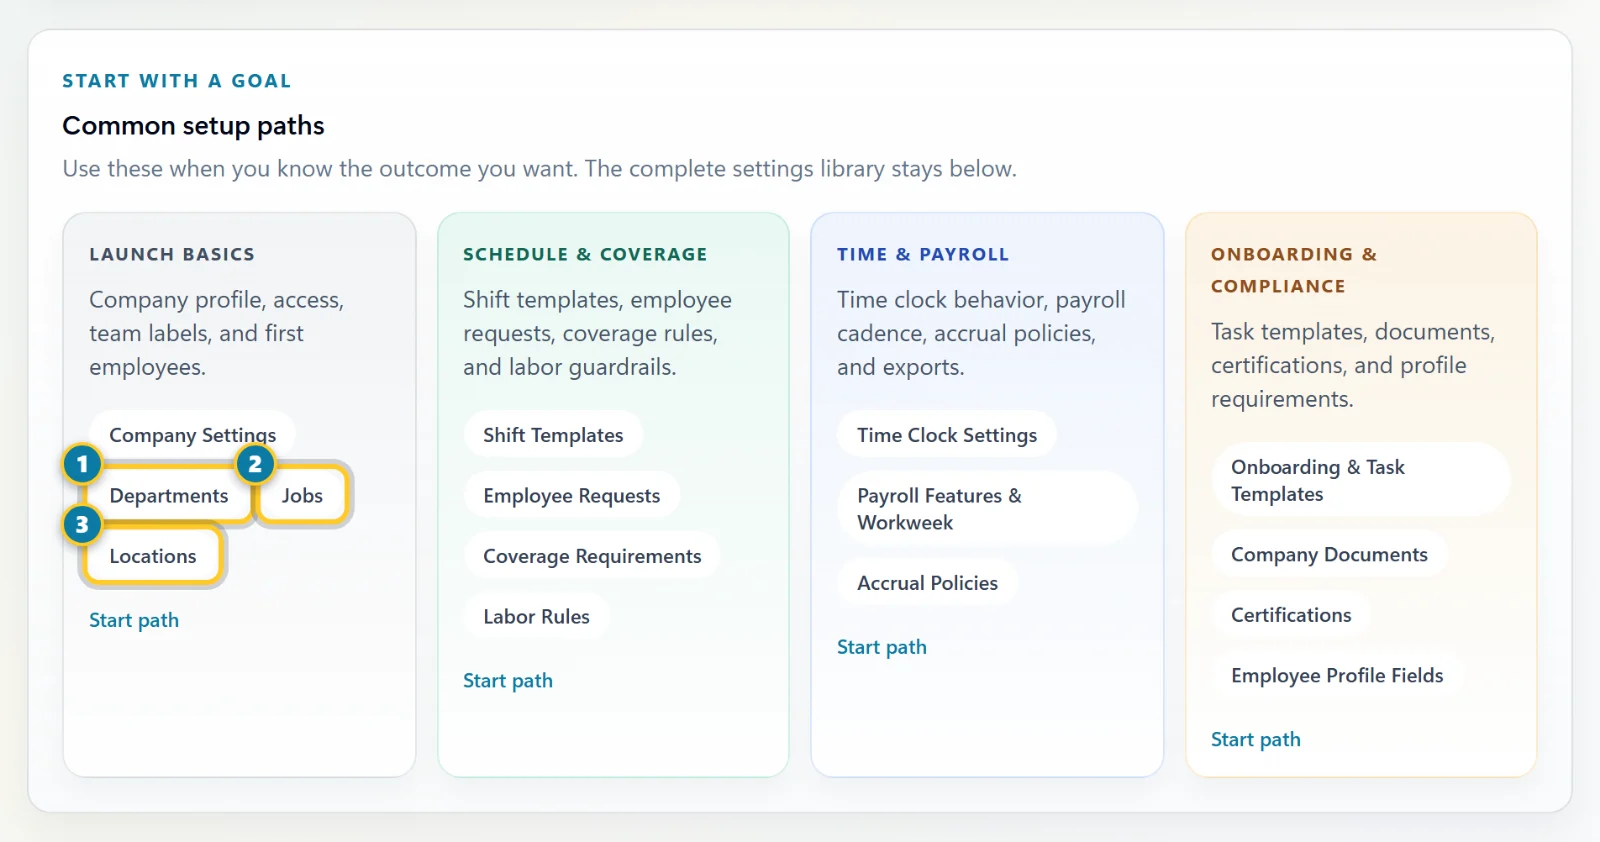
Departments (1), Jobs (2) and Locations (3) are together under Launch basics.
Add a department
- On Departments, type the name under Add Department. Pick a Color and add a description if you like.
-
Select Add.
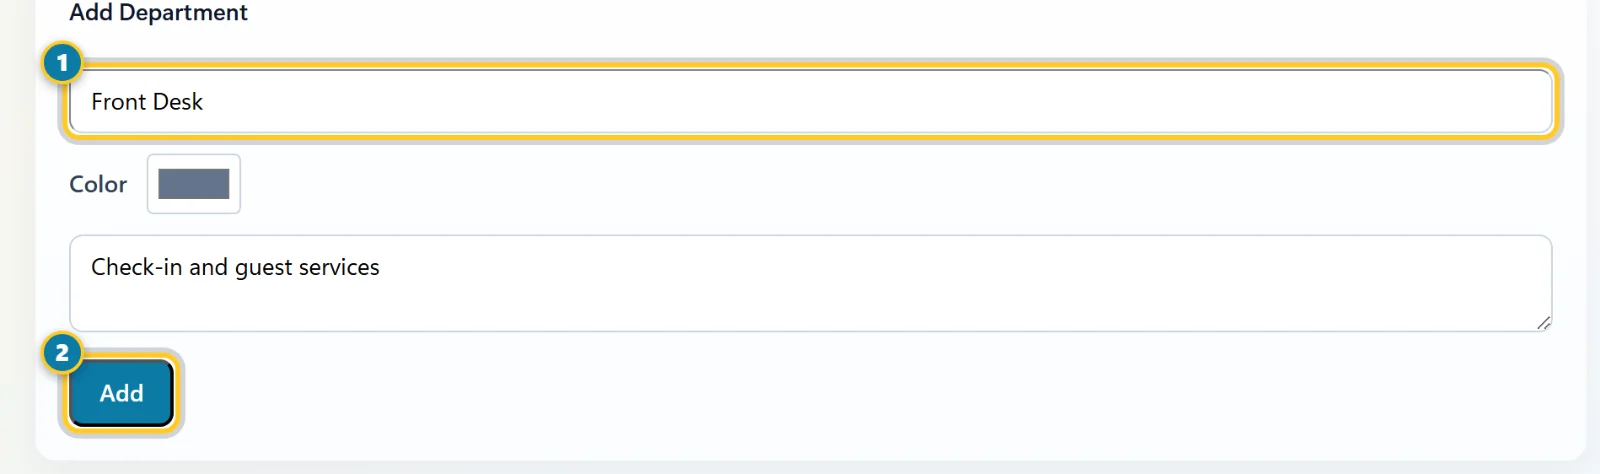
Type the name (1), then select Add (2).
To rename a department, change its name in the list and select Save.
Add a job
- On Jobs, type the Job title under Add Job.
- Choose the department it belongs to, or leave No department.
-
Select Add.
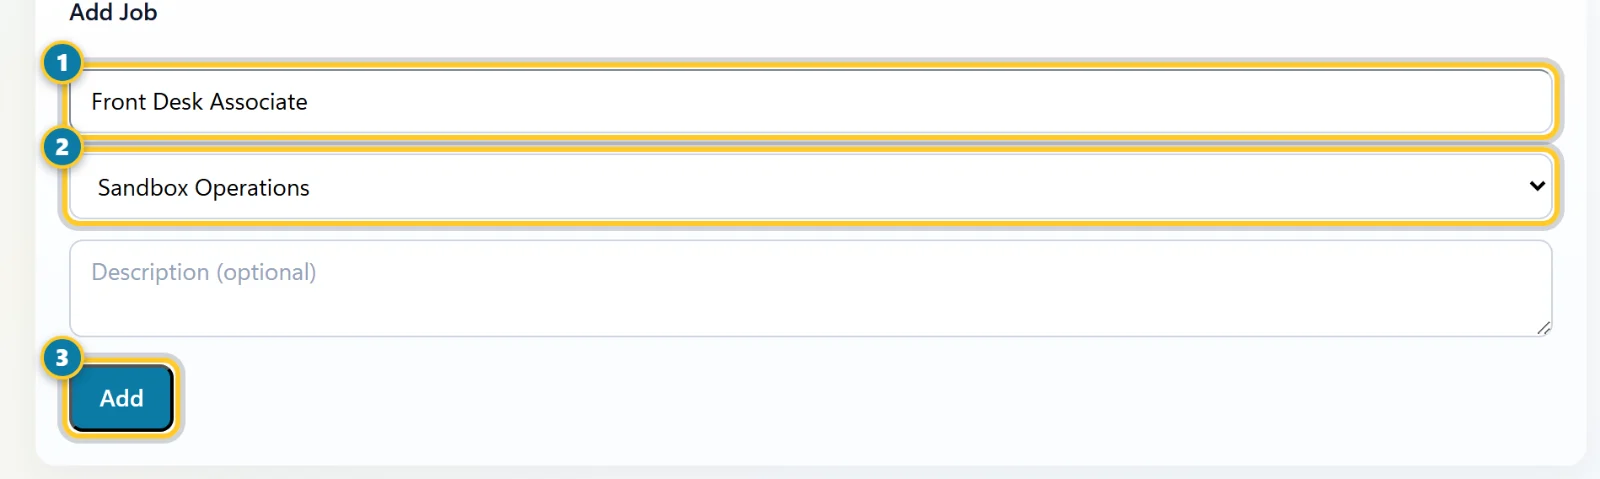
Type the title (1), choose a department (2), then select Add (3).
Add a location
- On Locations, select New Location.
- Enter the Location Name, then the Street Address, City, State and ZIP. AppyShift checks the address for you.
- If you'll check where people clock in, enter a Clock-in Radius (feet). It's optional: blank means 500 ft. See Set up the time clock.
-
Select Create Location.
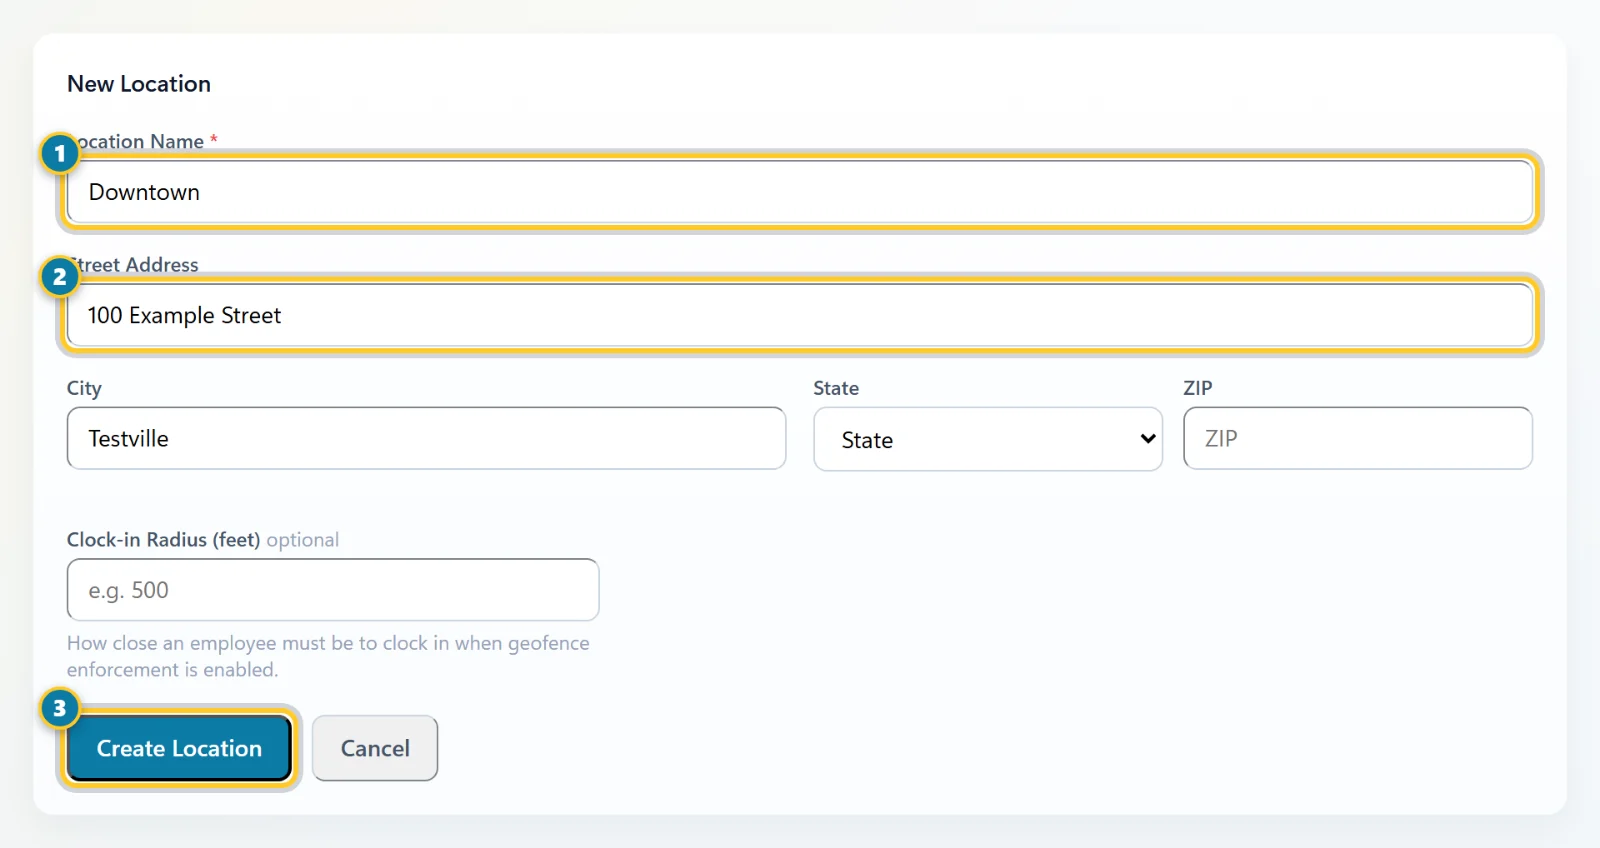
Name it (1), add the address (2), then select Create Location (3).
A location shows Address verified once the address is found. To change one, select Edit next to it.
Warning
Deleting a department, job or location takes it off everyone who has it. Move people to the new one on their profiles first.
Tip
Call them something else? The names Departments, Jobs and Locations follow your own words. See Set your company name, logo and wording. If you don't use departments or locations at all, turn them off under Settings > Company > Company Settings > Feature Access.